


Every family has a holiday tradition that feels like home. For us, it’s not the cookies or pies that steal the show – it’s the buttery, melt-in-your-mouth salted caramels we make every single year. What started as a fun kitchen experiment has turned into a beloved ritual that fills our home with the sweet smell of caramel and warms our hearts as much as our taste buds.
I’ll admit, I’m a caramel snob. Store-bought candy has nothing on the real deal – creamy, buttery, homemade perfection. This recipe is more than a sweet treat; it’s a love letter to the holidays, made with care and a sprinkle of flaky salt to bring out the rich, golden flavor. Whether you’re gifting these to neighbors or saving a batch for your own midnight snack, these caramels are guaranteed to make the season brighter.
Why Homemade Salted Caramels Are the Perfect Holiday Treat
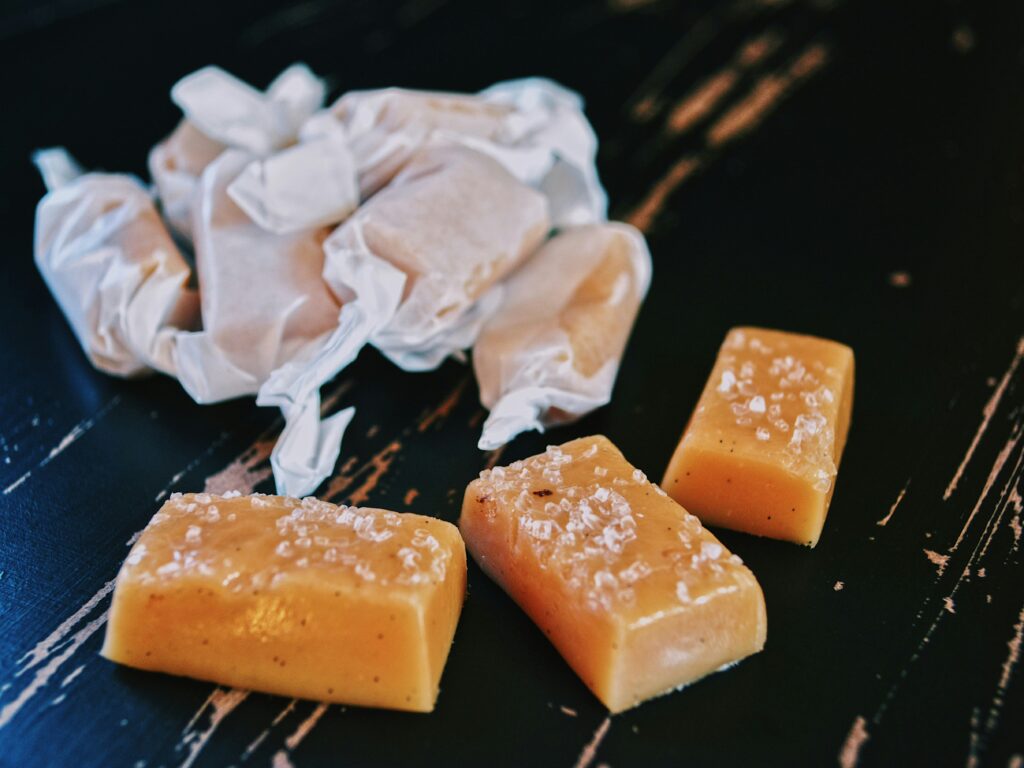
- They Make Thoughtful Gifts: Wrapped in parchment and tied with a ribbon, these caramels are a heartfelt gift anyone would love.
- They’re Easier Than You Think: With just a handful of pantry staples and a good candy thermometer, you’ll feel like a confectionery pro.
- They’re a Memory Maker: Gather your kids, siblings, or friends and turn caramel-making into a holiday tradition.
Brown Butter Salted Caramels
Ingredients
- 1 cup salted butter (2 sticks): Adds richness and a hint of saltiness.
- 2 ¼ cups dark brown sugar: The base of that classic caramel flavor.
- 1 cup light corn syrup: Ensures a smooth, chewy texture.
- 1 (14 oz) can sweetened condensed milk: For creaminess and sweetness.
- ½ cup heavy cream: Rounds out the luxurious texture.
- 1 ½ teaspoons vanilla extract: A warm, comforting finish.
- Flaky salt: For that signature salted caramel taste.
Step-by-Step Instructions
- Prep Your Dish: Butter a 9×13 pan generously and set aside. This will ensure your caramels don’t stick.
- Start the Base: In a medium non-stick pot, melt butter over just-below-medium heat. Stir in the brown sugar and light corn syrup until smooth and fully combined.
- Add Creaminess: Turn off the heat and mix in the sweetened condensed milk and heavy cream. Use a spatula to scrape every last bit from the can.
- Heat and Stir: Attach a candy thermometer to your pot or have an instant-read thermometer ready. Turn the heat back on to just under medium and stir constantly as the caramel cooks.
- Watch for the Magic Number: The caramel will bubble and deepen in color. Stir until the thermometer reads 235°F, about 15–20 minutes. This is the soft-ball stage for perfect chewy caramels.
- Add the Finishing Touch: Remove from heat and stir in the vanilla (watch for bubbling). Pour the caramel into your prepared dish and sprinkle with flaky salt, if desired.
- Cool Completely: Let the caramel set for 3–4 hours at room temperature before cutting into squares. Wrap pieces in parchment or store in an airtight container.
Tips for Perfect Caramel Every Time
- Use a Reliable Thermometer: Precision is key for the right texture.
- Keep Stirring: Don’t stop stirring, or the caramel may scorch.
- Be Patient: Good caramel takes time, but the results are worth it.
- Cool Before Cutting: Cutting too soon will leave you with a sticky mess.
The Story Behind Our Family’s Caramel Tradition
When I was a kid, caramel-making was my grandma’s specialty. Every December, her tiny kitchen became a workshop of bubbling pots, buttery aromas, and trays of golden caramels cooling on the counter. She’d tie little squares in wax paper and send us home with bags to share – though most didn’t make it past the car ride.
As I grew older, I took up the tradition, determined to get that perfect chewy texture just like she did. After a few trial runs (and a lot of taste testing), I finally mastered it. Now, these caramels are my go-to holiday gift and the treat my family can’t wait to see on the counter every December.
Make It Your Tradition
Whether you’re looking to impress your holiday guests or create a new family tradition, this salted caramel recipe is a guaranteed crowd-pleaser. Share it with friends, gift it to neighbors, or save a batch for your own late-night holiday movie marathons. No matter how you enjoy it, one thing’s for sure: this recipe is all about the sweetness of the season.
Pin this recipe for later, and let’s make your holidays a little sweeter this year!


